
With its amazing services and features, Kodi has gained immense popularity. It is a well-known media streaming platform where users get access to tons of different channels and shows. Even though Kodi has an intuitive interface, there are various builds and repositories that dramatically change the feel and look of the platform. One of the builds that you will find in all the top Kodi builds a list is Durex. The Durex Kodi build is one of the best options if you are using custom builds. To install the Durex TV addon and build, you will require the Durex Wizard.
Here is the complete step-by-step guide to install Durex build on Kodi. Also, don’t forget to check some alternatives to Durex Build that give the latter a tough competition.
What is Durex Build?
There are various Kodi builds available in the market and just like them the Durex build also offers a wide range of add-ons. Also, the interface of Durex builds a kind of renovated form of Kodi, bringing all-new navigation for the users. Using the major horizontal menu, you can access the movies, sports, TV shows, and family-oriented programs. There are various add-ons available that you can check out to stream your favorite content.
Uranus, Neptune Rising, and Placenta are some of the popular add-ons that will come pre-installed with the Durex build. I’m sure that after knowing this you would like to know the process to install Durex build on Kodi.
How to Install Durex Build on Kodi?
Durex is a third-party Kodi build and to install it on your device you will have to enable the Unknown Sources. You can do it by opening the Settings, and then clicking on System Settings, followed by Add-ons.
There are three parts to the process of installation of Durex build on Kodi. Here is the complete guide.
Part 1- Add Durex Wizard’s Source to Kodi
You need to point Kodi to the server location of the Durex Wizard. So follow the steps given below to add the source.
Step 1- Launch the Kodi app. Then click on the Settings icon. You will find it under the Kodi logo, at the home screen.

Step 2- Now open File Manager. And then in the new window, click on Add Source option from the list on the right side.

Step 3- In the next dialogue box, look for None field. Click on it.
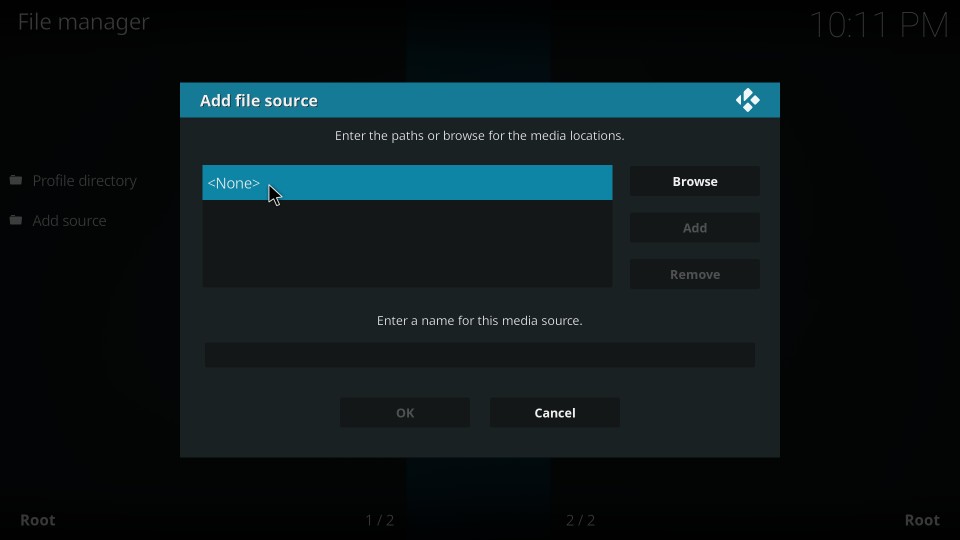
Step 4- Now in the space provided, type the following URL-http://www.drxbld.com/wiz/. This is a very crucial step as any typos can fail the process.

Step 5- Then give the media file an appropriate name. You can give Durex for easy recognition.
Part 2- Install Durex Repository from the Source Added
After successfully adding the source, you now need to install Durex Repository on Kodi. The process is simple, check the steps here-
Step 1- Navigate to the home-screen of Kodi. Click on Add-ons option from the menu on the left side of the screen.

Step 2- Now look for Package Installer icon at the top left corner of the screen. Click on it.

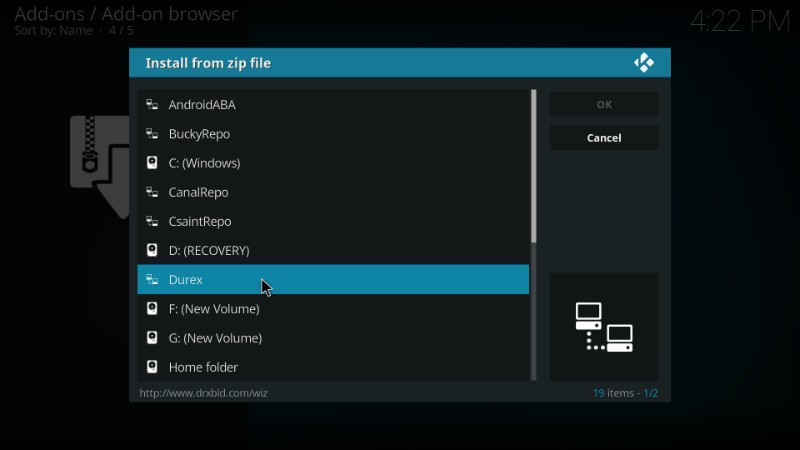
Step 3- Next, click on Install from zip file option. And then locate the file that you previously saved by the name Durex, or whatever you named it.

Step 4- Click on the file to open it. A couple of zip files will be displayed, click on the file which says plugin.program.drxwizard-6.0.zip.
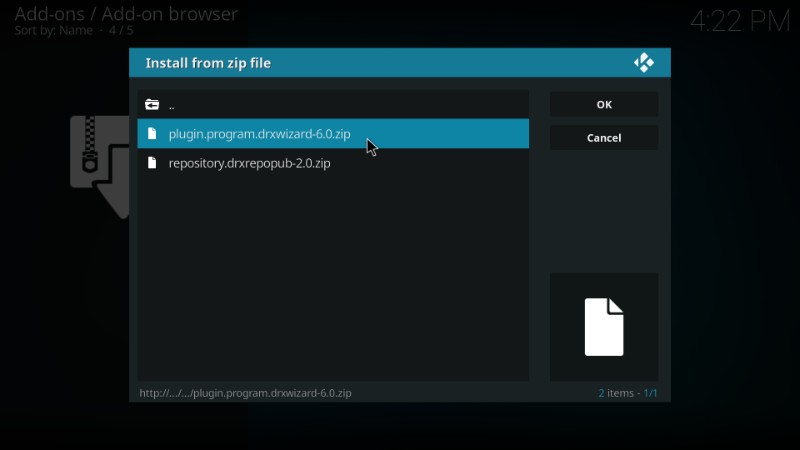
The 6.0 version number can change according to the version of that time. Wait for a few seconds till you get the notification regarding the installation of the add-on.
Step 5- Now you can install Durex Build on Kodi as the Durex Repository is successfully installed from the added source. You might get a few pop-up messages, just click on Dismiss and go ahead with the process.

In the next pop-ups, you can make changes in the settings of the app if you want to. If not then click on cancel, followed by Ignore.
Part 3- Install Durex Build using Durex Wizard on Kodi
Ok, now this is the final phase to install Durex build on Kodi. From the Durex Wizard that you just installed, you can install the build easily.
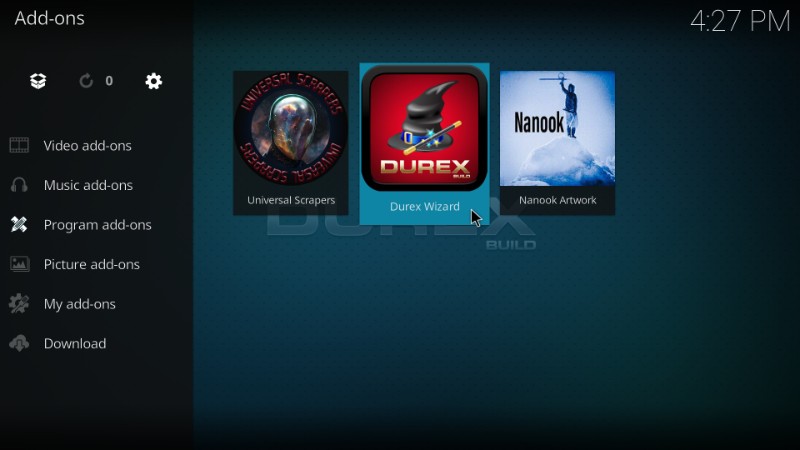
Step 1- Again navigate to the Home screen of Kodi. Then click on Add-ons option on the left side.
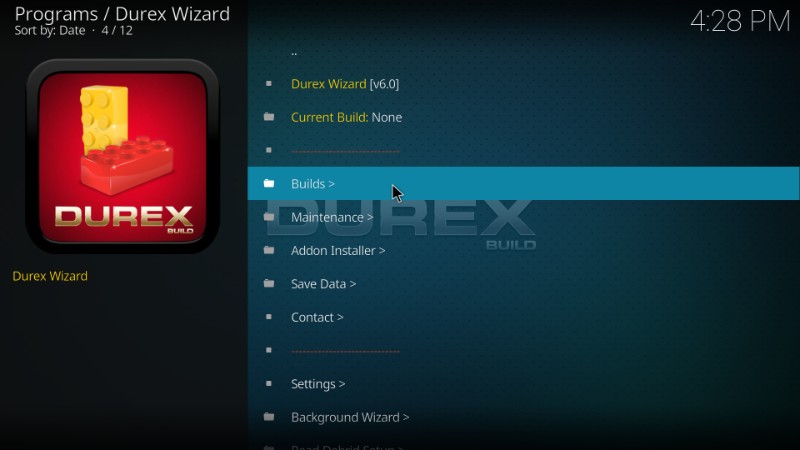
Step 2- Next click on Program Add-ons. You will see the Durex Build icon in the next window click on it.
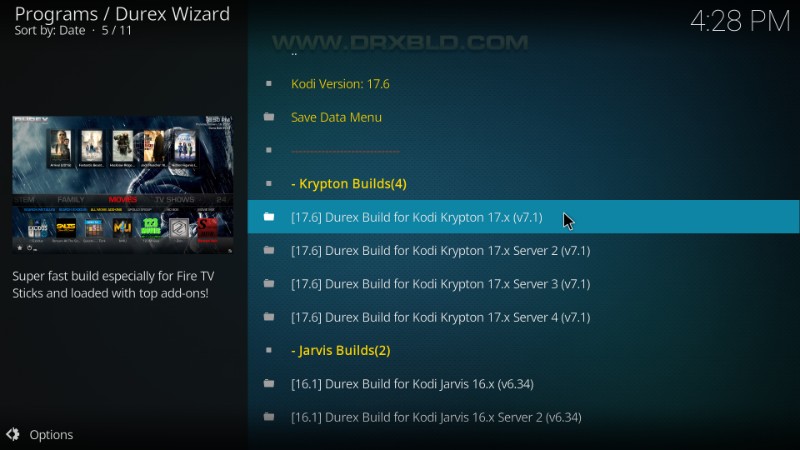
Step 3- Now click on Builds. Under the Krypton Builds heading, click on Kodi Durex build. There will be various servers offering the Kodi Durex build. You can choose anyone that you like.
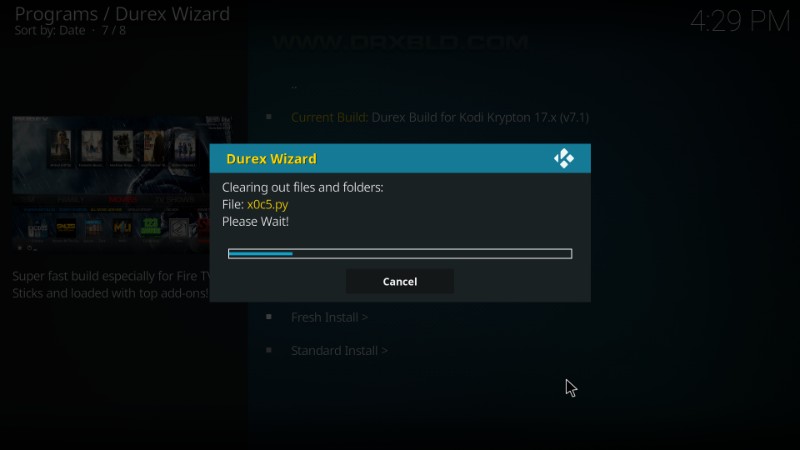
Step 4- You will be further asked to choose whether you want Fresh Install or Standard Install. As the former will reset Kodi to factory default and all your data will be wiped out, it is advised that you go ahead with Standard Install.
Step 5- Wait for 4 to 5 minutes until the installation process completes. After the installation is completed, you might get a pop-up, just click on Force Close.
Step 6- Now you can relaunch the Kodi app, your Kodi will get an all-new look.
That’s it. Your Durex build is installed successfully on your device.
Stay Safe and Use VPN
Streaming on Kodi can be risky specifically when you live in geo-restricted areas. So it is advised that you use an effective VPN that will prevent your ISP from you and your online activities. In order to keep your online identity safe and hidden from malicious agents, using a VPN is encouraged. ExpressVPN and IPVanish are some of the best and well-known VPN services that you can install for better and safe Kodi experience.
Wrapping Up
Durex build is definitely one of the best builds that are present. The build is not only packed with features but also goes easy and light on any device. Interactive interface, pre-installed Kodi add-ons, and good looks make it a must try. We hope that this article was helpful to all you guys who were wondering how to install Durex Build on Kodi. If you have any queries or suggestions, then share it with us in the comment section. And stay tuned for further updates.


